Phase 1: Out with the Old, In with the New.
Before we get your new player online, let’s quickly swap out the physical hardware.
Step 1: Power Down & Disconnect. Go ahead and unplug your old media player to give it a well-deserved retirement .
Step 2: Swap the Power Cord. Please swap out the old power cord and use the brand-new power cord that came in the box with your new media player. The voltage or connector plug may be different, and using the old cord could damage your new device.
Step 3: Keep Your Existing HDMI Cable. You do not need to replace your HDMI cable. Leave the current HDMI cable plugged into your display screen and simply plug the other end directly into the HDMI port of your new media player box.
Step 4: Power On. Connect the new power cord to the new media player box, plug it into an outlet, and ensure the box connects to your screen and powers on.
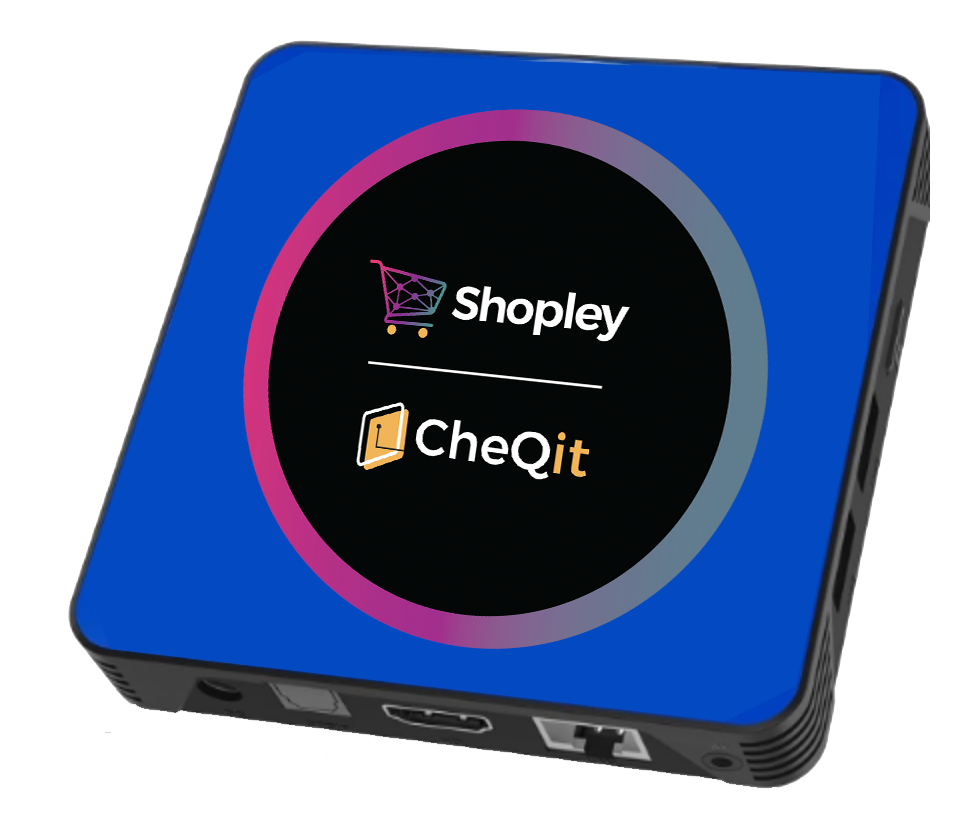
Phase 2: Connecting Your Player to the Internet
Connecting your new media player to your business WiFi or Ethernet network keeps your media player software and signage content up-to-date, and also allows Shopley technicians to troubleshoot and fix issues remotely!
OPTION 1: HOW TO CONNECT VIA ETHERNET
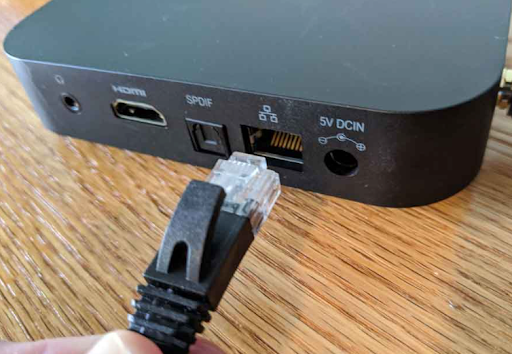
Step 1: Connect an ethernet cable from your WiFi or internet router, to the Ethernet port on your new Shopley media player box.
That’s it, you’re all set!
OPTION 2: HOW TO CONNECT VIA WIFI NETWORK
Step 1: Grab your provided remote (or plug in a USB mouse) to access your SYSTEM SETTINGS. If you are using a mouse, simply double-click the screen and select Exit Player so it doesn't pop back up while you work.
Step 2: From your system settings, ensure that WiFi detection is enabled and that the media player can detect your business’ WiFi network.
Step 3: Select your WiFi network and input your WiFi password to connect the media player to your network.
That’s it, you’re all set!